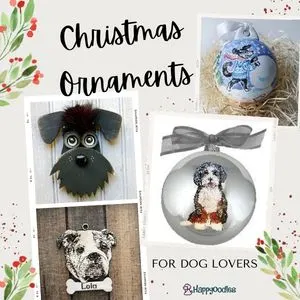
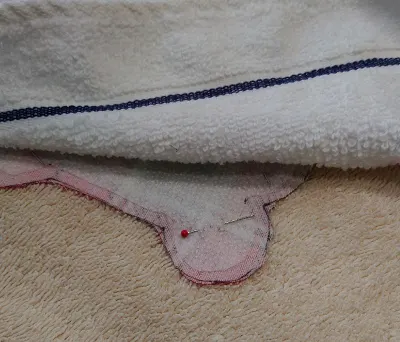
For us, dog moms, including our furry best friend in holiday celebrations is important. But trying to figure out how to include them in our holiday traditions can be tricky. After all they can’t trim the tree or bake cookies with us.
But there are still ways to include them in on the fun. One way is to make sure they are represented on the Christmas tree.
You can easily find beautiful dog related Christmas ornaments to buy or you can make your own DIY Dog Bone Christmas Ornament. DIY dog bone ornaments can be made from a variety of materials like, fabric, felt or wood. But to make fabric ornaments, you tend to need to know how to sew.
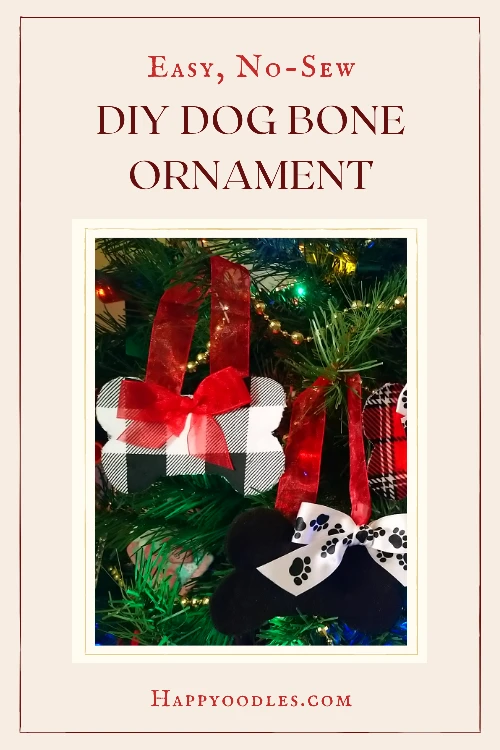
In this post we are going to show you how to make an easy, no-sew DIY dog bone fabric ornament for your Christmas tree.
DIY Dog Bone Christmas Ornament Instructions
Note: As an Amazon affiliate I earn from qualifying purchases.


DIY Dog Bone Ornament Materials List
My DIY dog bone ornament is super easy to make, but first you need to gather your supplies. I try to be environmentally friendly, so when coming up with this project, I challenged myself to only use leftover items I had around my house from other projects.
I strongly suggest you do the same. But if you don’t have the supplies on hand they are readily available at your local craft store or Amazon.com.
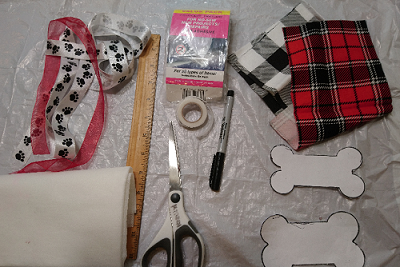

Supplies from home
These are common supplies you may already have in your home.
- Scissors
- Straight pins
- DIY Dog Bone Christmas Ornament Patterns -you will need to print this out
- Flat surface to work on
- Something to protect your work surface
- Pencil or marker for tracing out the pattern
- Iron and ironing board
Tip: Since I work on my dining room table I prefer to use a clean plastic garbage bag to protect the surface. If you plan on cutting directly on the table also put down a flat piece of cardboard to protect the surface from scratches.
Supplies you might need to buy

Here are the supplies you may need to buy, but first make sure to look around your house. Some of these items can be substituted with something you already have, like the fabric and ribbon. If you don’t have the needed supplies at home they can be found at your local craft store or online at Amazon.com.
For your convenience I have included the links to Amazon.com for:

The above list includes a link to a no-iron fabric fusion tape. For my project I used an iron-on fabric fusion tape, because that’s what I had on hand. But not having to iron on the tape is a bonus and it’s what I would try if I needed to buy it new.
Eco-friendly Tips:

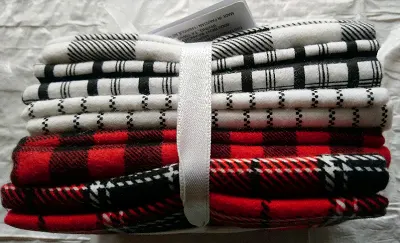
- I used the flannel scraps from another project for the ornaments. I strongly suggest instead of buying material for this project, look for material you already have in the house. An old flannel shirt will work or maybe a flannel bed sheet.
- You can also turn the DIY DOG Bone Ornament into a pet memorial ornament by using the material from your dog’s worn out bed or dog coat. Just wash it first.
- Another eco-friendly tip is to use a thin piece of cardboard to stiffing up the material, instead of the fabric interface. If you choose this route the hemming tape will not work. Instead you will need a hot glue gun to glue the material to the cardboard.

DIY Dog Christmas Ornament Steps
1. Getting ready
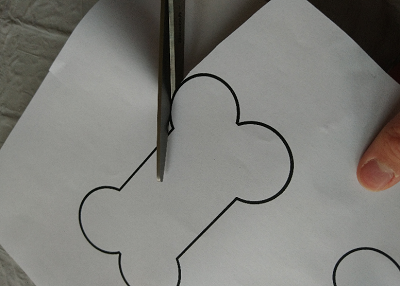
- First print out the pattern onto paper

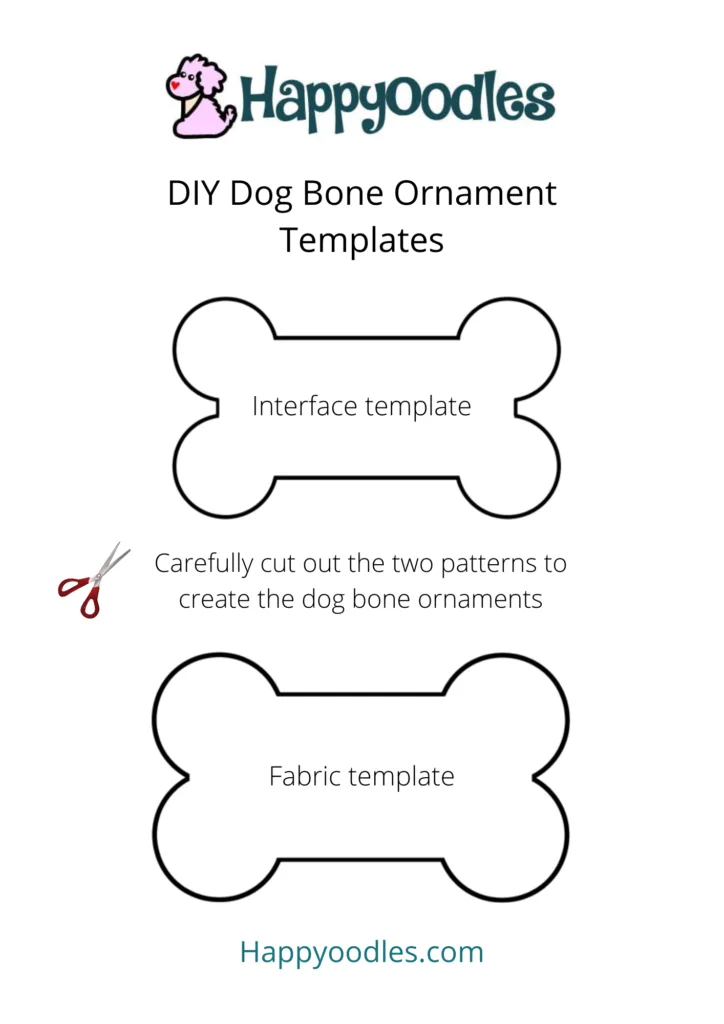
- Next cut out the paper pattern – there should be two patterns one larger and one smaller. The smaller pattern is for the fusible interfacing. The larger pattern is for the fabric

2. Preparing the pieces
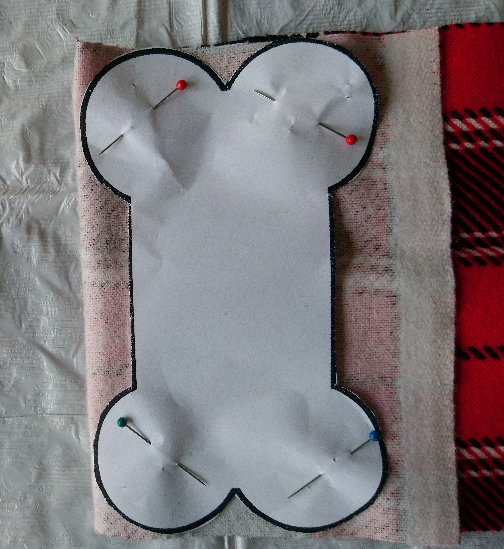
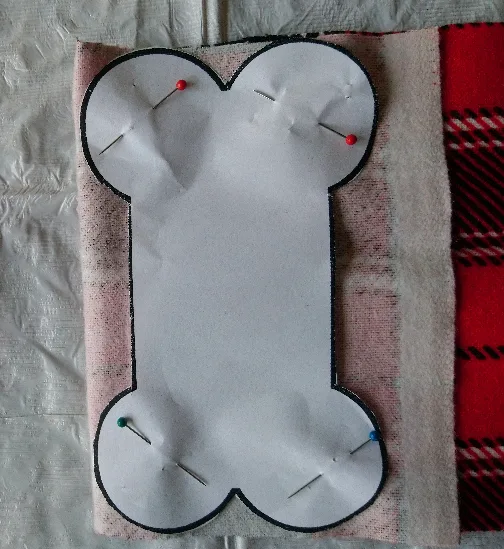
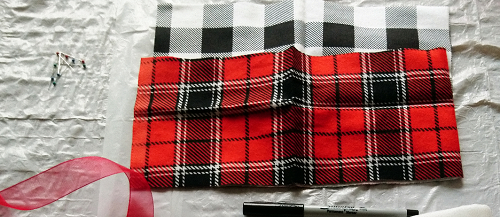
- Next using the straight pins, pin the larger pattern to the wrong side of a doubled up piece of fabric
- Use a marker to draw the outline
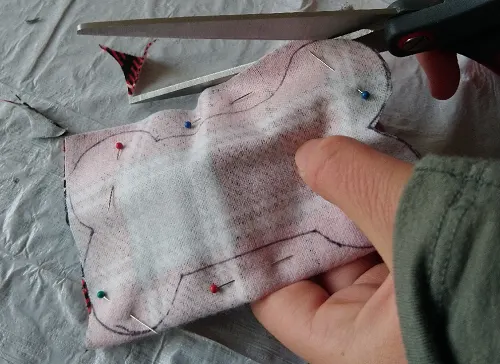
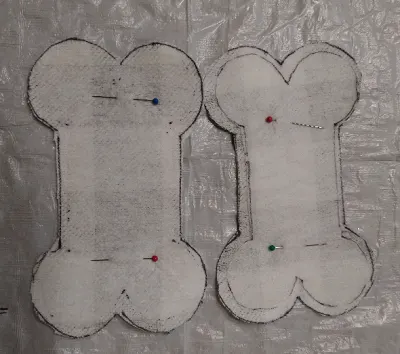
- Cut the fabric along the outline – Try to make the edges smooth

- Pin the smaller pattern to the fusible interfacing
- Again trace around the pattern and then remove the pattern before cutting the interface
- Cut the interface to match the pattern
3. Combine the interface and fabric
In this next step you will iron the interface onto both pieces of fabric separately

- Start by centering and pinning the interface to the material to keep it in place.
- Then read the directions for ironing on the interface
- Follow the interface package direction for the best results

- I used a light piece of cloth to cover the interface
- Then used a medium heat iron to adhere the interface to the fabric. However, since your interface may be different than mine, make sure to follow the directions on the fusible interface you have
- Check the interface to make sure it’s fully attached to the material
- Let the material and interface cool down
4. Next we will add the ribbon and attach the two pieces of fabric together
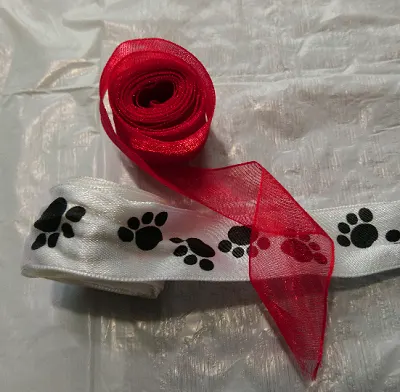
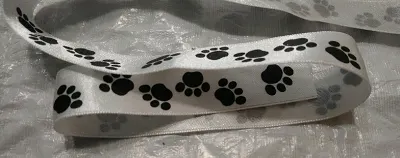
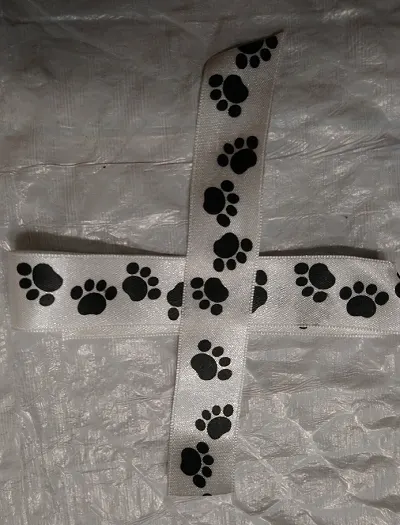
- First measure and cut your ribbon to the desired length
- My ribbon is cut to approximately 11 inches long

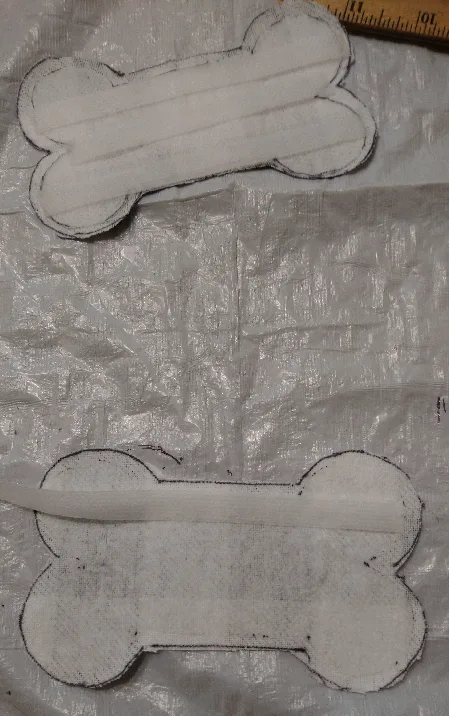
- Next place the first material cutout on the work space with the interfacing facing up.
- Measure the length of the fusible tape needed and cut it to size. I used three pieces of tape.
- One across the widest section on the top of the bone cutout
- One in the middle (see top of picture)
- One across the bottom widest section of the bone.
- Make sure the hemming tape is only on the material. Do not place the tape in an area without material.
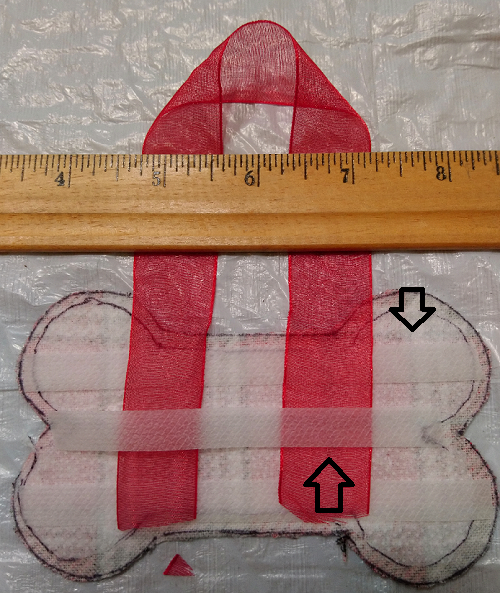

- Next lay the ribbon on the top of the cutout. The ribbon should be placed over the top and bottom hemming tape. The middle hemming tape should be placed over the ribbon.
- Then carefully place the second cutout on top. Using the straight pins, pin all the pieces together so the hemming tape and ribbon cannot move out of place
- Check around the edges to make sure everything stayed in place after pinning.
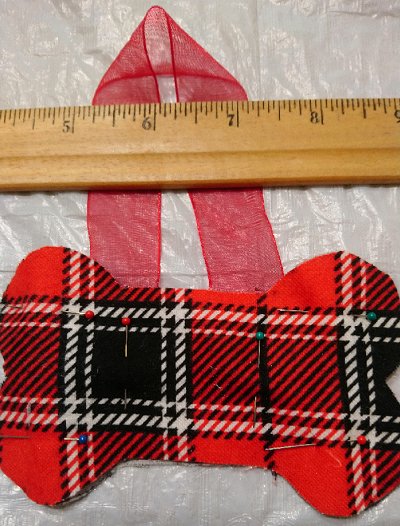
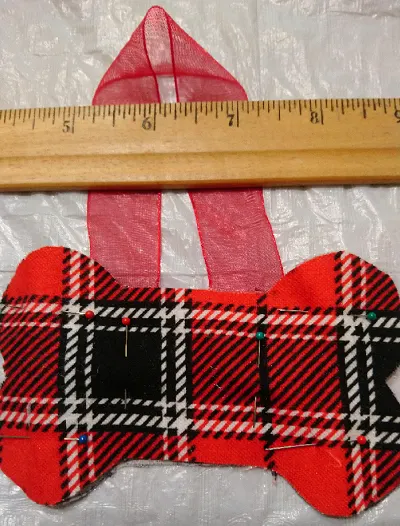
5. Now iron the pinned ornament to fuse all the pieces together
If you are using hemming tape that does not need to be ironed, skip this step.
- Once the two halves are firmly attached, trim around the edges to smooth out any uneven spots
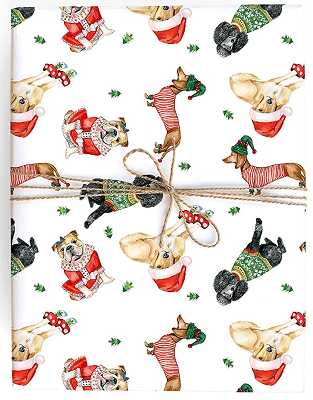
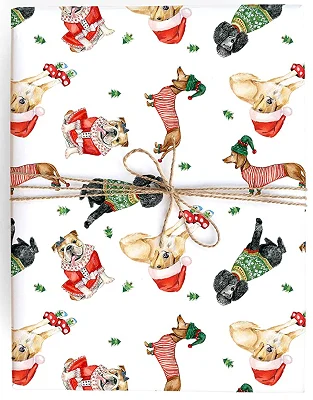
Looking for something special to wrap your favorite dog lover’s gift in? Look no further than this Holiday Dogs Gift Wrap. Comes in a set of 3 illustrated Christmas celebration sheets. It’s produced in Colorado, USA using FSC Certified papers. You can find it in the homemade section of Amazon.com
6. Adding the bow

Sometimes when you tie a bow the front of the bow comes out twisted. So instead I use two pieces of ribbon to create the bow. I will show you how to create a bow with two pieces of ribbon
- First cut two pieces of ribbon. One should be approximately 12 inches long and the other 5 inches long.
- Next fold the longer ribbon in thirds. Folding one side over the other

- Use the shorter ribbon to wrap around the middle of the longer folded ribbon

- Tie a knot with the shorter ribbon
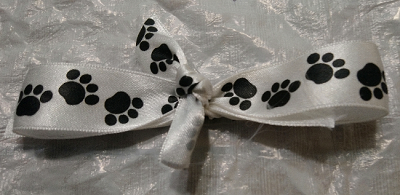
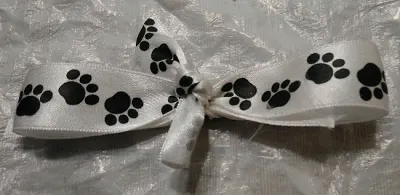
- Flip the ribbons over and pull down the ends. At this point you can play with the ribbon to determine how big you want the loops and how long you want the ends.
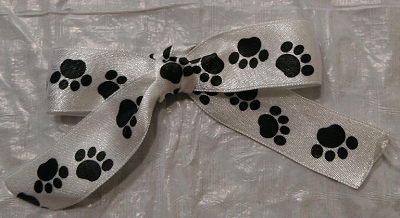
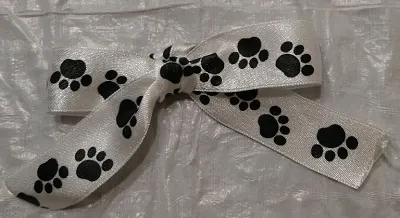
- Once you get the ribbon the way you want it to look cut off the back ends so they will not show. You can also cut the front ends shorter if they are two long.
- I used a small piece of hemming tape to glue the ribbon in place

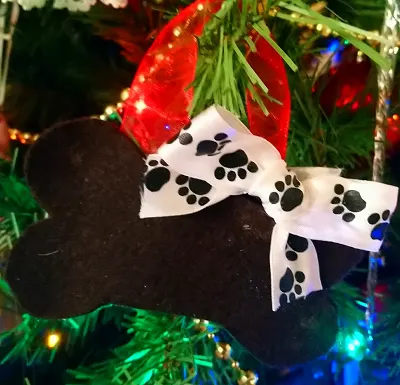
Felt DIY Dog Bone Ornament
I also made the ornament out of dark brown felt I had. You can create the felt ornament the same way as the flannel ornament but skip step three. The felt is thick enough on it’s own so you don’t need to add the interface to make it stiffer.
Hope you enjoyed making the
DIY Dog Bone Christmas Ornament!
Enjoy our other Holiday posts